Posts

Showing posts from July, 2025

Korean Flat Houndstooth Bracelet – 32-Thread Kumihimo Tutorial

Image
  A Modern Twist on a Classic Pattern This   32-thread houndstooth design   is one of our newest and most stylish patterns, perfect for both men and women. The woven texture is sleek, eye-catching, and effortlessly fashionable. What You’ll Need: Two 4mm hoses  (for a flat, structured look) 32 threads total  (16 of each color, 60cm each) Rectangular disk  (64-card slots) Metal buckles & finishing clips Step-by-Step Guide: 1. Prep the Base Lightly glue the two hoses together in the middle to form a flat star shape. Carefully insert all 32 threads (alternating colors) into the hose. 2. Secure the Threads Bundle the threads into the small starter ring and gently pull tight while holding the base firmly. Use the rectangular disk to begin weaving—follow the  two-by-two alternating color pattern  (refer to the included hanging chart for guidance). 3. Weaving the Houndstooth Start at Card #1, pulling the left thread to the right and filling gaps seque...

Mermaid Tail Ring

Image
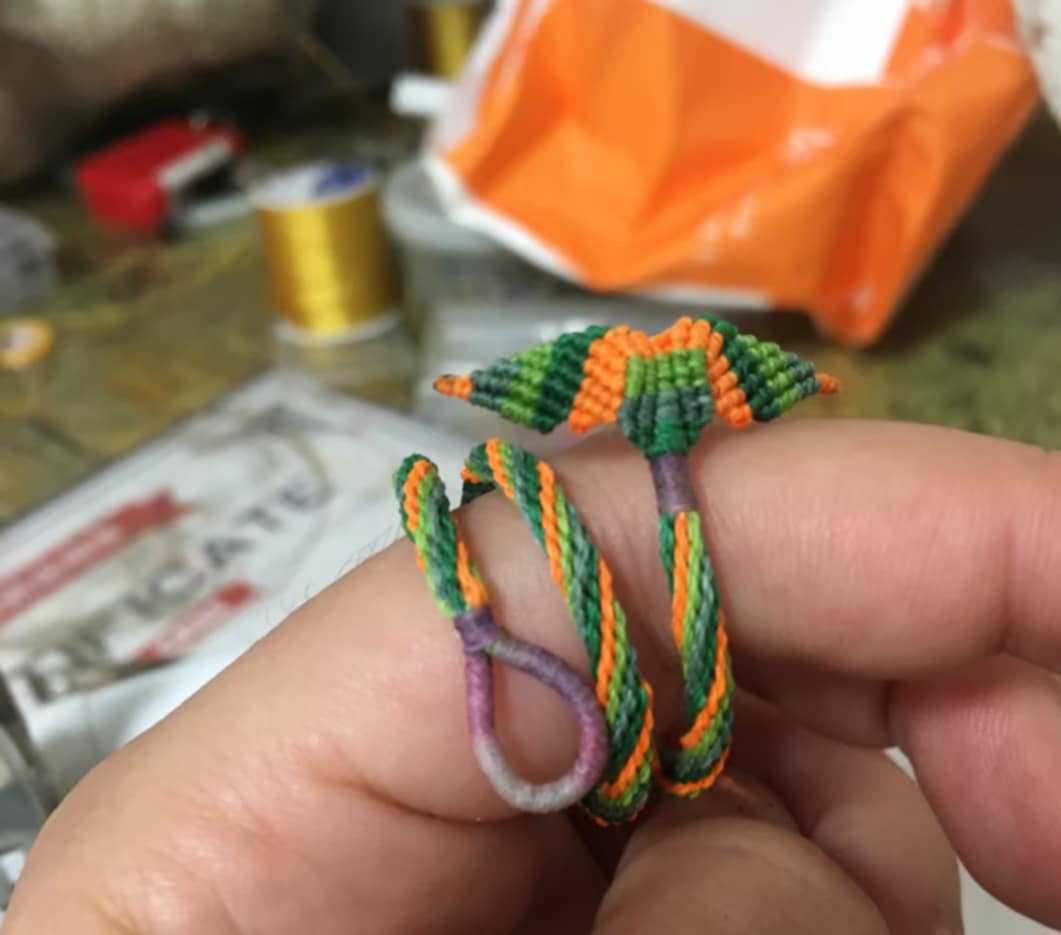
🌊 Materials You'll Need: 4 colors of embroidery floss or satin cord (approx. 50–60 cm each) Kumihimo disk (round or square) Needle and thread or glue Scissors Lighter (for finishing, optional) 🧵 Steps to Make the Mermaid Tail Ring: 🧷 1. Set Up the Ring Band (Spiral Cord): Use 8 strands of cord, two strands each in green and orange for the twist. Use a basic spiral braid or Kongo-gumi (round braid) pattern: Arrange your cords evenly on the disk (ex: N, S, E, W positions). Move the bottom left to the top left, then top right to bottom right. Rotate the disk and repeat to make a spiral cord about 5–6 cm long. 🧚 2. Form the Ring Loop: Fold the braided cord into a loop to fit your finger size. Secure the loop base with a purple-wrapped joint (you can sew or tightly wrap with purple thread or floss). Use a dab of glue or melt ends lightly to secure. 🐚 3. Create the Mermaid Tail: Use flat macramé-style weaving for the tail. Split the middle part of your cords into two mirrored sides....

Three-Color Checkered Coil Bracelet DIY Kit ✨

Image
Materials Included: ✔️ 3×8 mm flat tube (sleek base) ✔️ 5×10 mm magnetic buckle (easy clasp) ✔️ Premium wax threads: 10 red, 6 green, 8 white (each 55 cm) Step-by-Step Guide: Preparation: Wrap all threads and the flat tube tightly with a 0.5 cm securing thread, then place them into the coiler. Setup: Hang the threads in pairs (as shown). First Weave (Clockwise): Starting from the top (Position 1), follow pattern 96×1-7×8—using the left thread of each pair to coil one full circle clockwise. Second Weave (Counterclockwise): Reverse direction with pattern 1×2-90×91, using the right thread of each pair to coil counterclockwise. Repeat: Alternate between steps 3 and 4 until your bracelet reaches the desired length. Why You’ll Love It: Bold Design: The vibrant red, green, and white checkered pattern stands out with every twist. Secure Fit: The magnetic buckle ensures easy wear while keeping the bracelet snug. Customizable Length: Repeat the weaving steps for a longer or shorter design. Pe...

How to Make a Stunning Kumihimo Bracelet

Image
Discover the art of kumihimo braiding and create your own beautiful handmade accessories . A kumihimo bracelet is a unique piece of DIY jewelry that can add a personal touch to any outfit. Kumihimo braiding is an ancient Japanese technique that involves interlacing cords or threads to create intricate patterns. This traditional craft has been revived in modern times as a popular method for creating handmade jewelry . With a few simple tools and some patience, you can create a stunning kumihimo bracelet that reflects your personal style. Key Takeaways Create unique handmade accessories with kumihimo braiding Learn an ancient Japanese technique with modern applications Make a beautiful piece of DIY jewelry with simple tools Add a personal touch to your outfit with a handmade kumihimo bracelet Develop your crafting skills with this traditional technique The Ancient Art of Kumihimo Braiding Originating in Japan, kumihimo braiding has a rich history that spans centuries, influencing...

Coiling Dragon Scale Kumihimo Instructions

Image
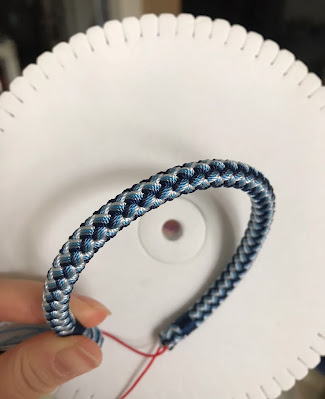
  Materials: * 4 x 100cm lengths of 12-strand dark blue cord * 4 x 100cm lengths of 12-strand mist blue cord * 4 x 100cm lengths of 12-strand sky blue cord * 4 x 100cm lengths of 12-strand white cord * Several lengths of 3-strand dark blue wrapping cord (any color works) * 20cm of 4mm plastic tubing * 72-position coiling tool Instructions: 1. Gather all cords and loosely tie them together at the center. 2. Route each cord individually through the center point. 3. Begin coiling from the bottom layer of cords. 4. See Figure 1 for initial cord arrangement and Figure 2 for the appearance after one coil on each side. Tip: Use dark blue to create a gradient effect and outline. Pro Tip:  For extra dimension, use  metallic threads  or mix satin with matte cords. The contrast enhances the scale illusion! Would you like a color diagram of the thread movements or bead placement suggestions? 😊

The Complete Guide to Kumihimo Foam Disks: Your Essential Braiding Tool

Image
  What is a Kumihimo Foam Disk? The kumihimo foam disk is the modern, beginner-friendly version of traditional Japanese braiding looms. This lightweight, portable tool features: 32 numbered slots around the perimeter A center hole for securing threads Dense foam construction (typically 4-6mm thick) Standard diameters of 3.5" to 6" Why Use a Foam Disk? Affordable  (typically $3-$8) Portable  - fits in a small bag Beginner-friendly  - easier than marudai Versatile  - creates multiple braid types Durable  - lasts for many projects Types of Foam Disks 1. Standard Round Disks Creates spiral/round braids Most common for 8-strand braiding Often includes printed guides 2. Square Plates Produces flat braids Used for more advanced patterns Less common than round versions 3. Specialty Disks Double-sided (round/square) Extra-thick for stability Color-coded slots How to Use Your Foam Disk Basic Setup: Cut 8 strands of thread (24-30" long) Tie together with an overhand k...