Demystifying 16-Strand Kumihimo: How to Read Complex Flower Patterns Without Going Crazy

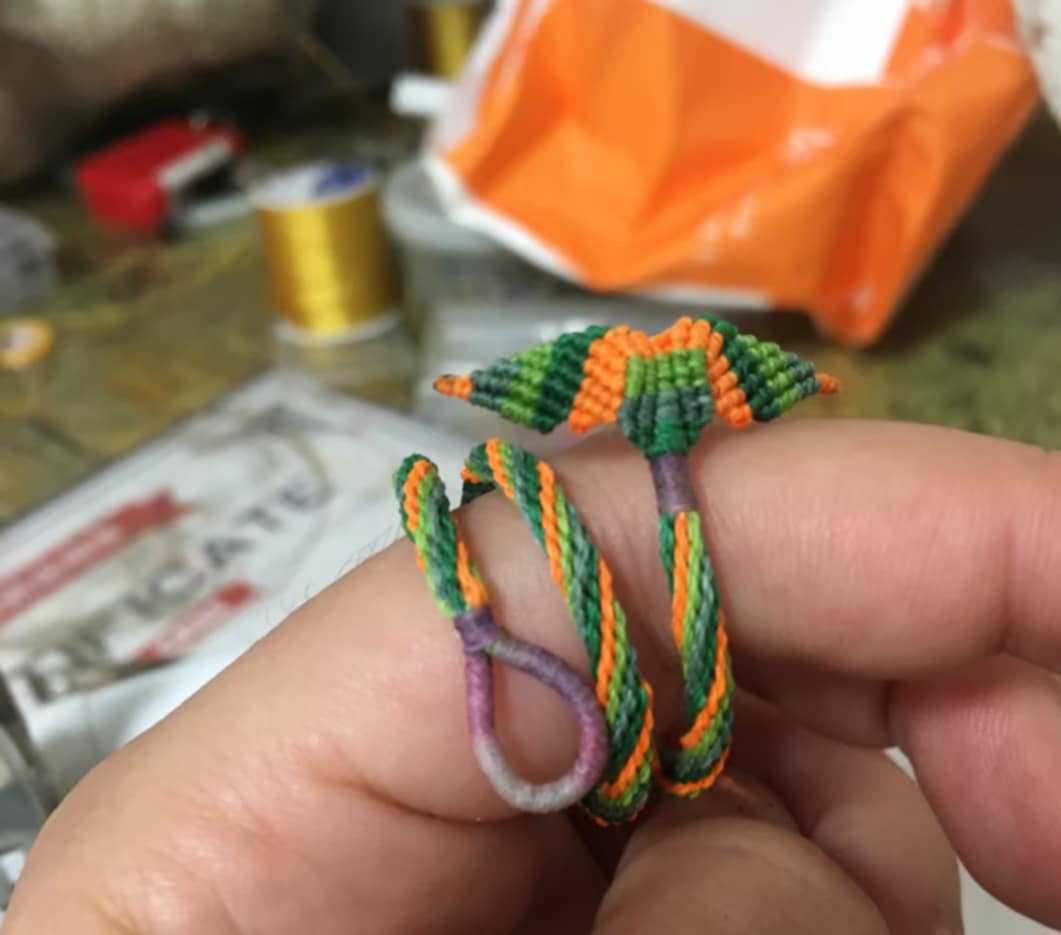
You’ve mastered the basic 8-strand round braid. Your hands move automatically, your muscle memory is locked in, and your tension is perfectly even. But the moment you decide to level up your craft and open a diagram for a 16-strand flower pattern, your confidence hits a wall. The chart looks less like a fun craft tutorial and more like advanced ancient hieroglyphics. Trying to track 16 distinct strings crossing back and forth across a foam disk is enough to make any crafter want to put their supplies away. But here is the good news: you do not need a degree in geometry to build gorgeous floral braids. You just need to change how your brain interprets the chart. How to Read a 16-Strand Pattern (Featured Snippet Target): To decode a 16-strand Kumihimo flower pattern easily, stop tracking individual strands and focus entirely on slot pairings and quadrants . Instead of following single threads across the wheel, organize your 16 strands into four direct...


Comments
Post a Comment